Page 22
Page 1 - Page 2 - Page 3 - Page 4 - Page 5 - Page 6 - Page 7 - Page 8 - Page 9 - Page 10
Page 11 - Page 12 - Page 13 - Page 14 - Page 15 - Page 16 - Page 17 - Page 18 - Page 19
Page 20 - Page 21 - Page 22 - Page 23 - Page 24 - Page 25
November 2009
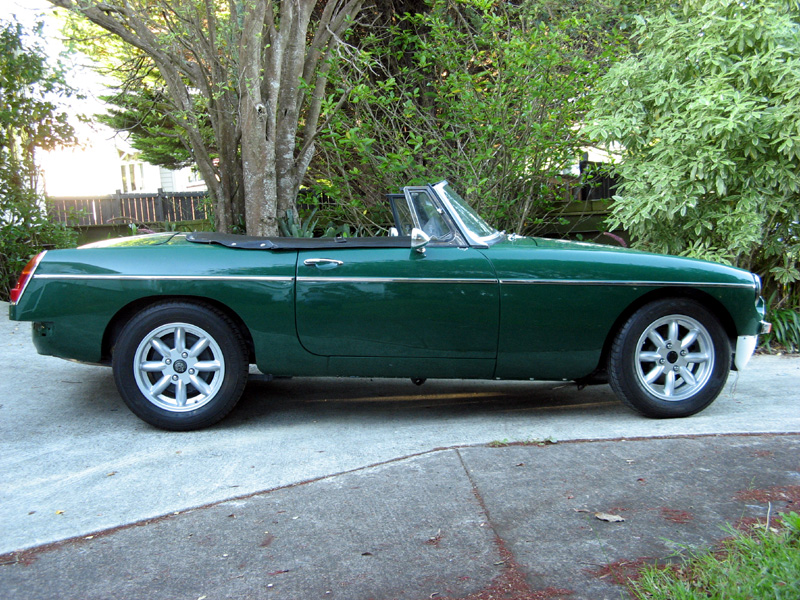
This is the car with the trim strips on. It is so important to get these lined up and level since
they are a very strong visual cue on the car. Have these wrong and the car just doesn't look
right.
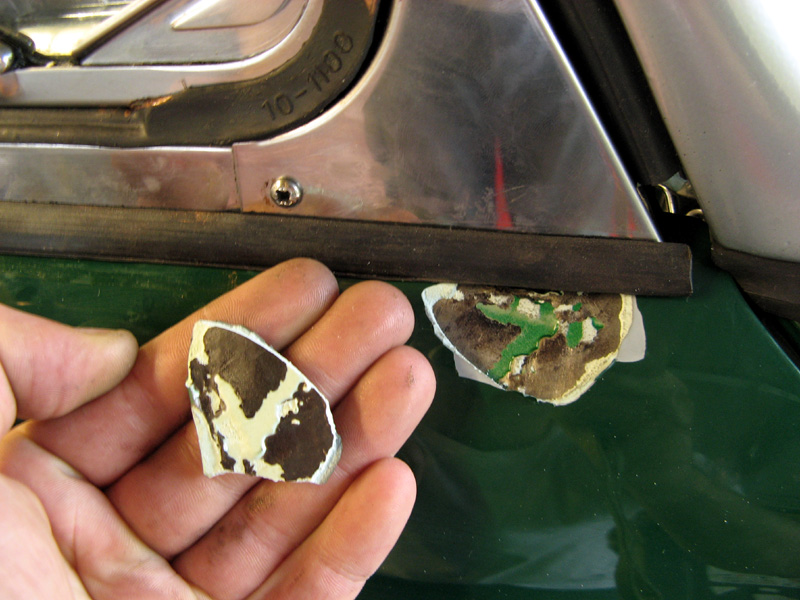
If you look very closely in the picture above you will notice just under the quarterlight a chip
of paint missing. In adjusting the quarterlight I managed to know a chip of paint and filler
off the door. Getting the quarterlights right is vital to avoid putting stress on the frame
which eventually leads to the door crack of doom. To get it right you can add small packing
washers when you fit it as shims. While getting these in place and the frame lined up I
managed to chip the door. So that came off, went back to the painters for repair and repainting.
This was the door that had previously had a bad repair done there (because of the crack of doom)
so the filler there is rather thick.

One issue I had was my non standard instruments. The standard MG speedo cable wouldn't fit my new
speedo. The square drive is the same size but the threaded screw isn't.
After a bit of pondering I decided to make my own adaptor. I measured the thread and
found it was a metric one. I then went and bought a Nylock nut of the appropriate size. I removed
the nylon insert from the nut and made up a small metal piece from a washer. This a machined down
so it would just slide into the middle of the nut. I filed a slot into it so I could slip it
the cable. This washer would slide down over the end of the speedo cable and be stopped by the
flanged end. The end of the cable is then inserted into the Nylock and a circlip used to hold it
in place. The circlip fits into the slot the nylon insert was in.
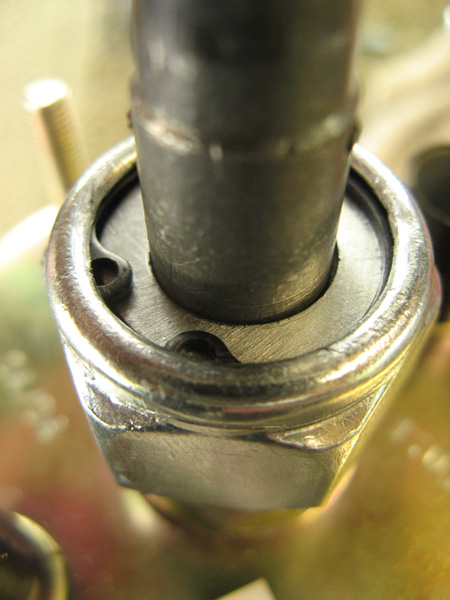
Then all you need to do is screw the nut home.
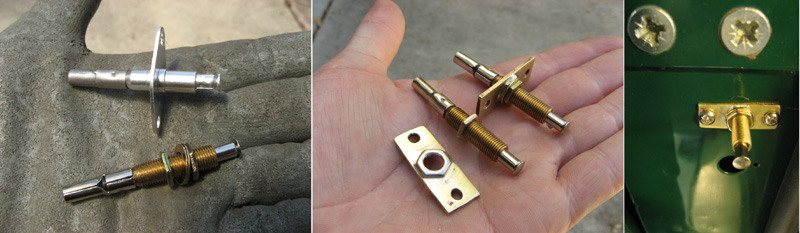
Another problem was the standard doors switches. Since I had packed out my hinges with 3mm packers
the standard switches weren't long enough. They are also quite cheaply made. I substituted more
modern alarm switches. I made some small brass plates with mounting holes spaced to match the
original switches. To these I soldered one of the nuts off the new switches. I was then able to
mount the new switches and adjust them as needed by screwing them in and out then locking them
in place with a second nut.
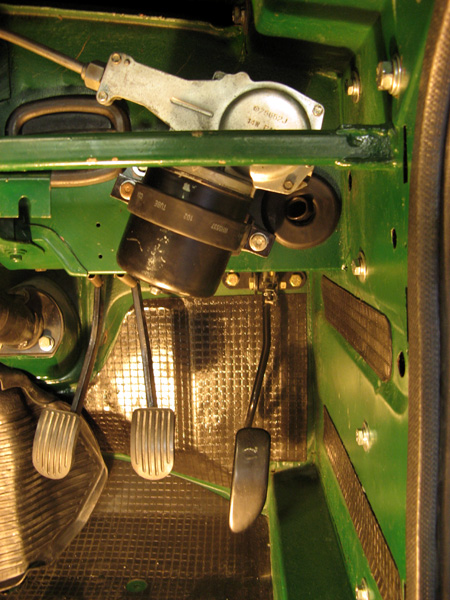
Before fitting the dash I put the wiper motor in place. The rubber strip that goes between motor and
U shaped mounting bracket was gone so I just covered the bracket in heat shrink tubing which
then holds the motor nicely in place. In this picture you can also see the sound proofing I put in
and how the later MGBs had a longer throttle pedal to make heel-toe easier.
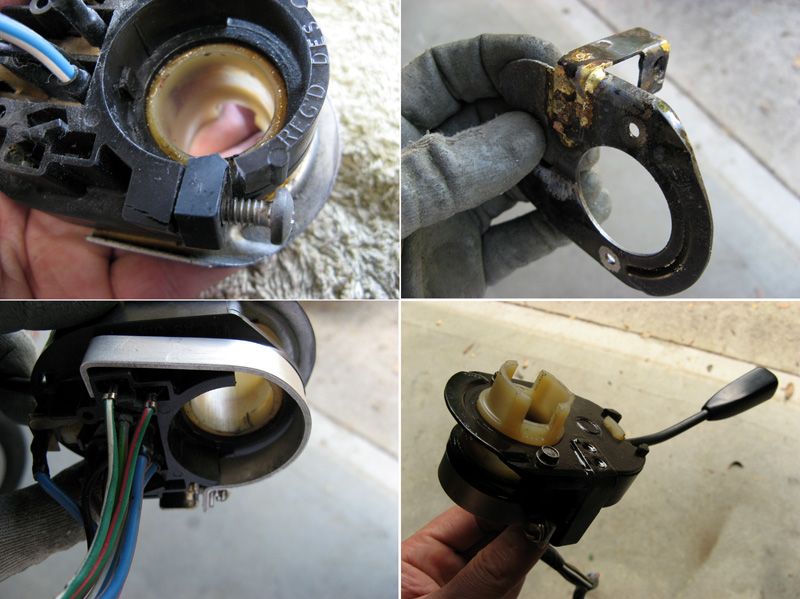
The other small job was repairing the blinker stalk. I am using the US stalk but cut off the wiper part
and turned the stalk over. This worked fine but unfortunately the plastic, being so old, was weak
and broke. I fixed it by brazing on a small bracket and nut. I then made an aluminium bracket to clip
around the whole assembly. A bolt through the bracket into the nut allowed me to tighten the stalk
around the steering column. As my steering wheel sits out a little further than the original MG one I
bent the stalk slightly so I could reach it with my fingers. The cut off wiper stalk was replaced with
a switch on the dash. I used the instructions here: LUCAS 2 Speed Windscreen Wiper Wiring
to be able to use a standard dash switch and a relay to allow the wipers to work with 2 speeds and
also be able to auto park.
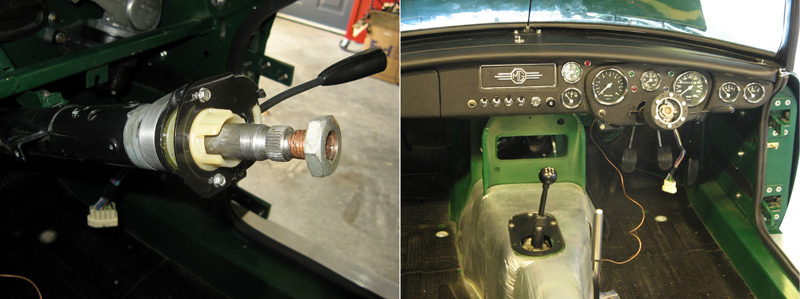
I was then able to mount the dash in the car and put the stalk in place on the steering column.
Page 1 - Page 2 - Page 3 - Page 4 - Page 5 - Page 6 - Page 7 - Page 8 - Page 9 - Page 10
Page 11 - Page 12 - Page 13 - Page 14 - Page 15 - Page 16 - Page 17 - Page 18 - Page 19
Page 20 - Page 21 - Page 22 - Page 23 - Page 24 - Page 25